Sculpting & Mould Making
- May 1, 2019
- 2 min read
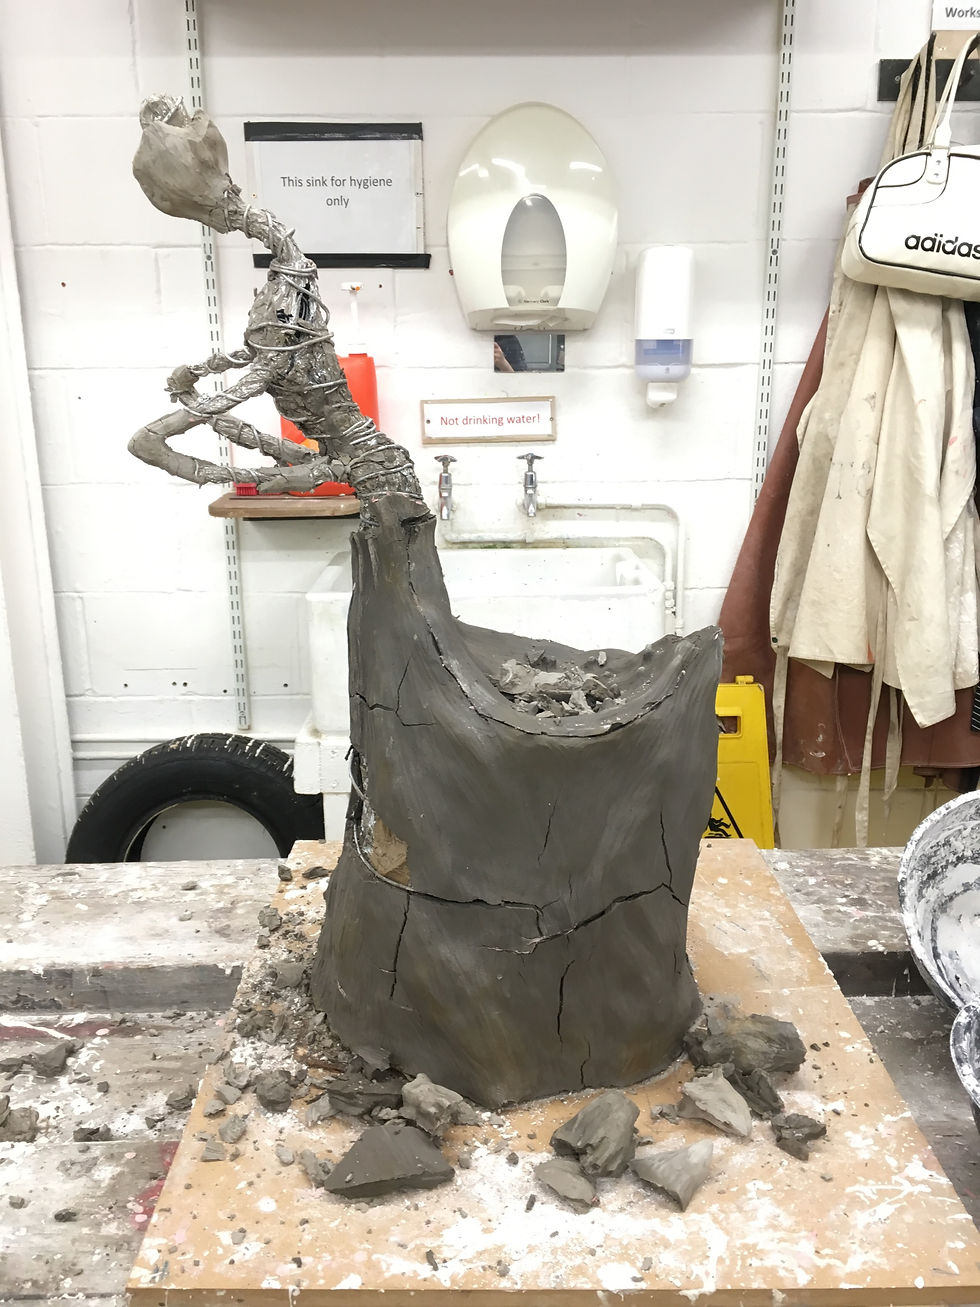
With the armature ready and a material plan in place, I started to pack out the sculpt with clay into its basic form - keeping in mind that the arms and neck onwards may need to be sculpted separately and not casted. Below I've documented the process through to the mould making, ready to be casted in resin.
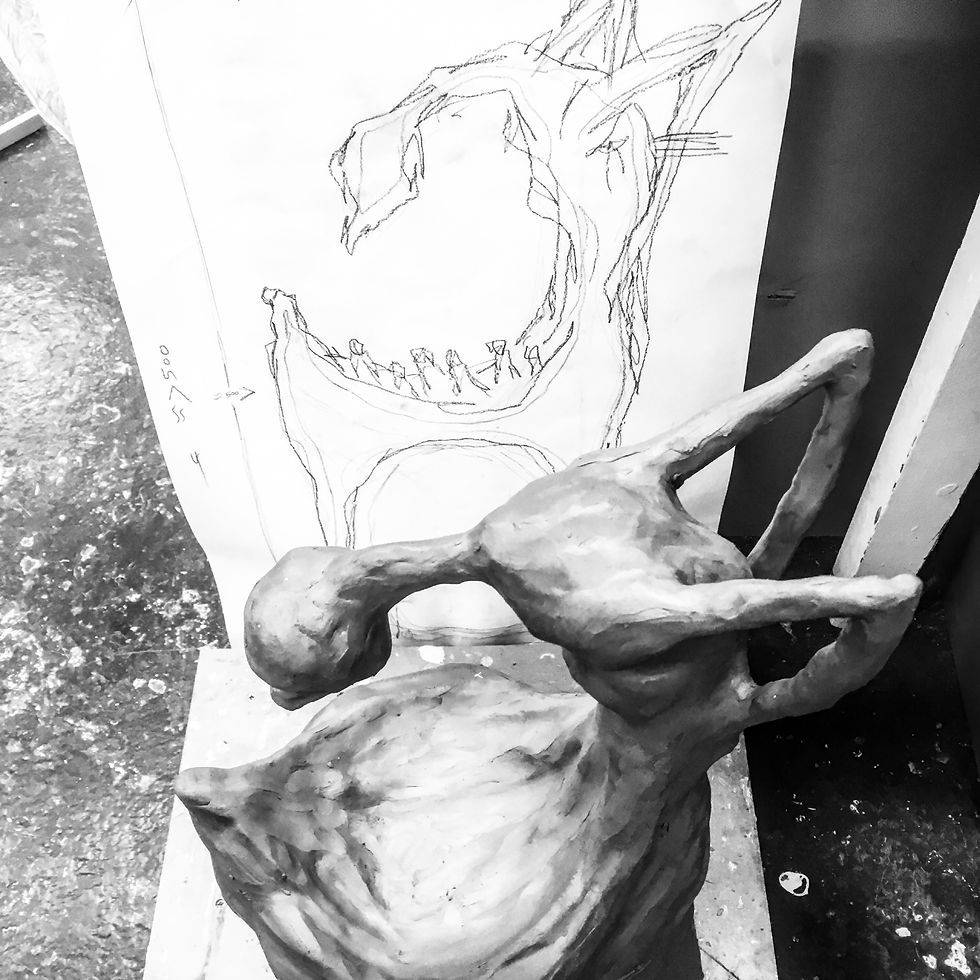
Above: Creating the basic structure using clay, referencing to the technical drawing throughout.
As I know that I will be sculpting all the details [in the style of my sketches] later on in the process, I need to keep a balance between form and texture. The final sculpt in clay will hold some texture to hold onto the milliput sculpted upon it later on, but will also need to leave enough room for structural sculpting - especially for the smaller figures within the bowl.


Above: The main form, some more details to be added.

Above: More sketches demonstrating the different features and building process.


Above: Adding more texture and shape.

Above: The final sculpt ready to be moulded.
Making the Mould:
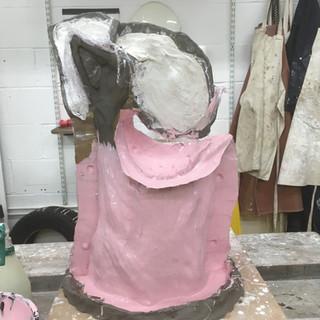
After plenty of discussions with my tutor and the technicians, I settled on creating a silicone mould with a jesmonite jacket. This sculpture is a lot more complicated in shape compared to the previously made portrait piece, so would need to require more thought in terms of the placement of shim walls.
Below you can see the process from beginning to end, including sketches planning the placement of the shim. In order to make a successful mould, we needed to create multiple walls out of clay with supported mod rock. Certain areas had to be done one at a time for logistical reasons, meaning the process was a lot longer and more complicated than a two-part mould.


Above: Mould making design sketches.


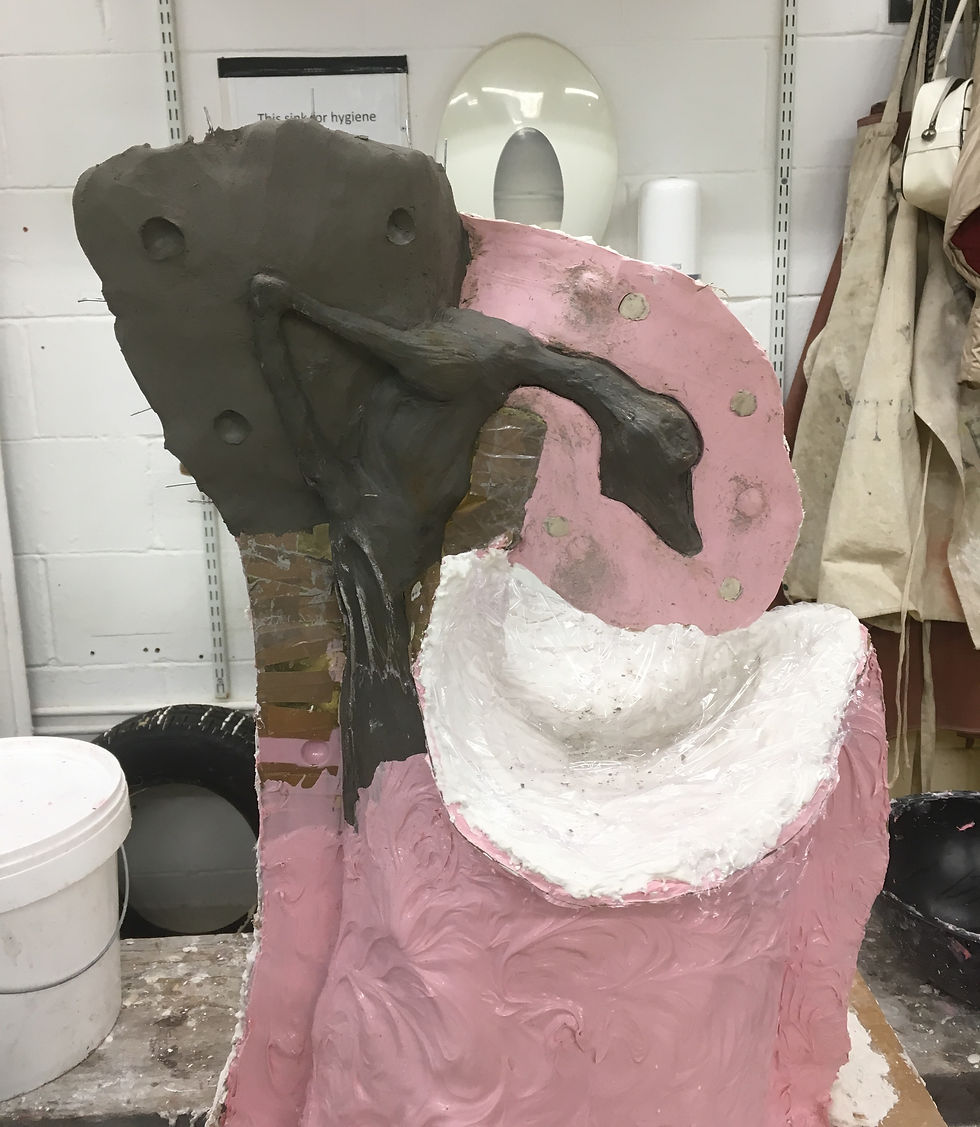


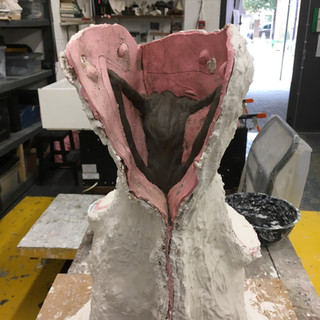


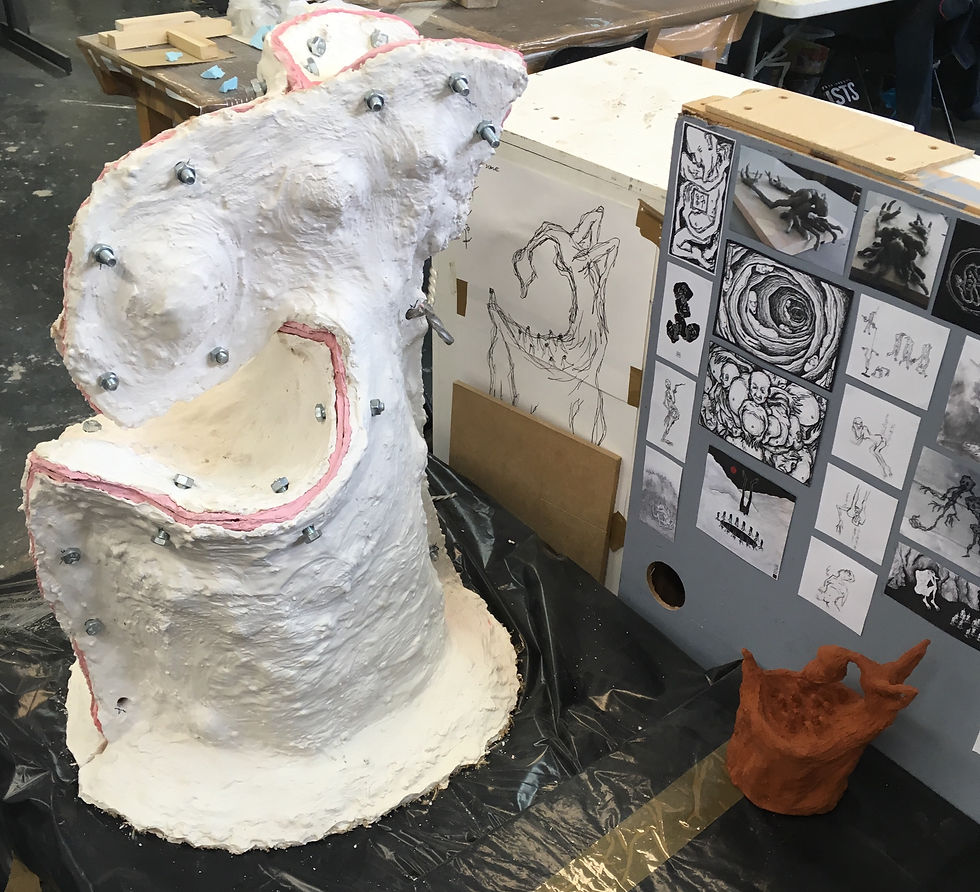
Above: The mould making process from beginning to end.
After a week and a half of mould-making, the four-part piece is finally complete. When it came to drilling the holes, two of them cracked or fell apart, so once I had bolted all the parts back together I quickly fixed these using a small plug to keep the hole open. With all the silicon placed back into the jesmonite jackets, I'm now ready to cast the resin tomorrow.


![Storyboard [Version 2 - Final]](https://static.wixstatic.com/media/6101d6_ca4da145888648f9ad4b241803e2a8b0~mv2_d_2048_1442_s_2.jpg/v1/fill/w_1407,h_1000,fp_0.50_0.50,q_30,blur_30,enc_avif,quality_auto/6101d6_ca4da145888648f9ad4b241803e2a8b0~mv2_d_2048_1442_s_2.jpg)
![Storyboard [Version 2 - Final]](https://static.wixstatic.com/media/6101d6_ca4da145888648f9ad4b241803e2a8b0~mv2_d_2048_1442_s_2.jpg/v1/fill/w_152,h_108,fp_0.50_0.50,q_90,enc_avif,quality_auto/6101d6_ca4da145888648f9ad4b241803e2a8b0~mv2_d_2048_1442_s_2.jpg)
![The Dark Crystal: Age of Resistance [Making Of]](https://static.wixstatic.com/media/6101d6_fd1a13acacf546e5ba5c173f142545b9~mv2.jpeg/v1/fill/w_905,h_500,fp_0.50_0.50,q_30,blur_30,enc_avif,quality_auto/6101d6_fd1a13acacf546e5ba5c173f142545b9~mv2.jpeg)
![The Dark Crystal: Age of Resistance [Making Of]](https://static.wixstatic.com/media/6101d6_fd1a13acacf546e5ba5c173f142545b9~mv2.jpeg/v1/fill/w_152,h_84,fp_0.50_0.50,q_90,enc_avif,quality_auto/6101d6_fd1a13acacf546e5ba5c173f142545b9~mv2.jpeg)
![Storyboard [Version 1]](https://static.wixstatic.com/media/6101d6_62e4bc4ad7a44be6990e8df33ca738e6~mv2_d_3508_2480_s_4_2.jpg/v1/fill/w_1407,h_1000,fp_0.50_0.50,q_30,blur_30,enc_avif,quality_auto/6101d6_62e4bc4ad7a44be6990e8df33ca738e6~mv2_d_3508_2480_s_4_2.jpg)
![Storyboard [Version 1]](https://static.wixstatic.com/media/6101d6_62e4bc4ad7a44be6990e8df33ca738e6~mv2_d_3508_2480_s_4_2.jpg/v1/fill/w_152,h_108,fp_0.50_0.50,q_90,enc_avif,quality_auto/6101d6_62e4bc4ad7a44be6990e8df33ca738e6~mv2_d_3508_2480_s_4_2.jpg)


Comments