Sculpting the Milliput Layer & Painting
- May 11, 2019
- 1 min read
The resin cast was sanded down and prepped for sculpting upon, so I began the milliput process with the hands which had mainly broken off due to large air bubbles. From here, I simply sculpted spontaneously; following the shape of the marks made previously upon the clay. Below you can see the milliput process from start to finish, including a rim added to the bottom and the 17 small figures which were made in 3 different stages.


Above: Sculpting the base, large figurine and miniatures.
Painting the milliput sculpt:
Milliput isn't the most absorbant material to paint onto, so in order to prime the surface I painted a layer of PVA glue all over the milliput areas and left it to dry. Below you can see the painting process, from the base layer to the lighter tones, the dry brushing the final sealant spray.


Above: The painting process from beginning to end.
Lighting test shots:


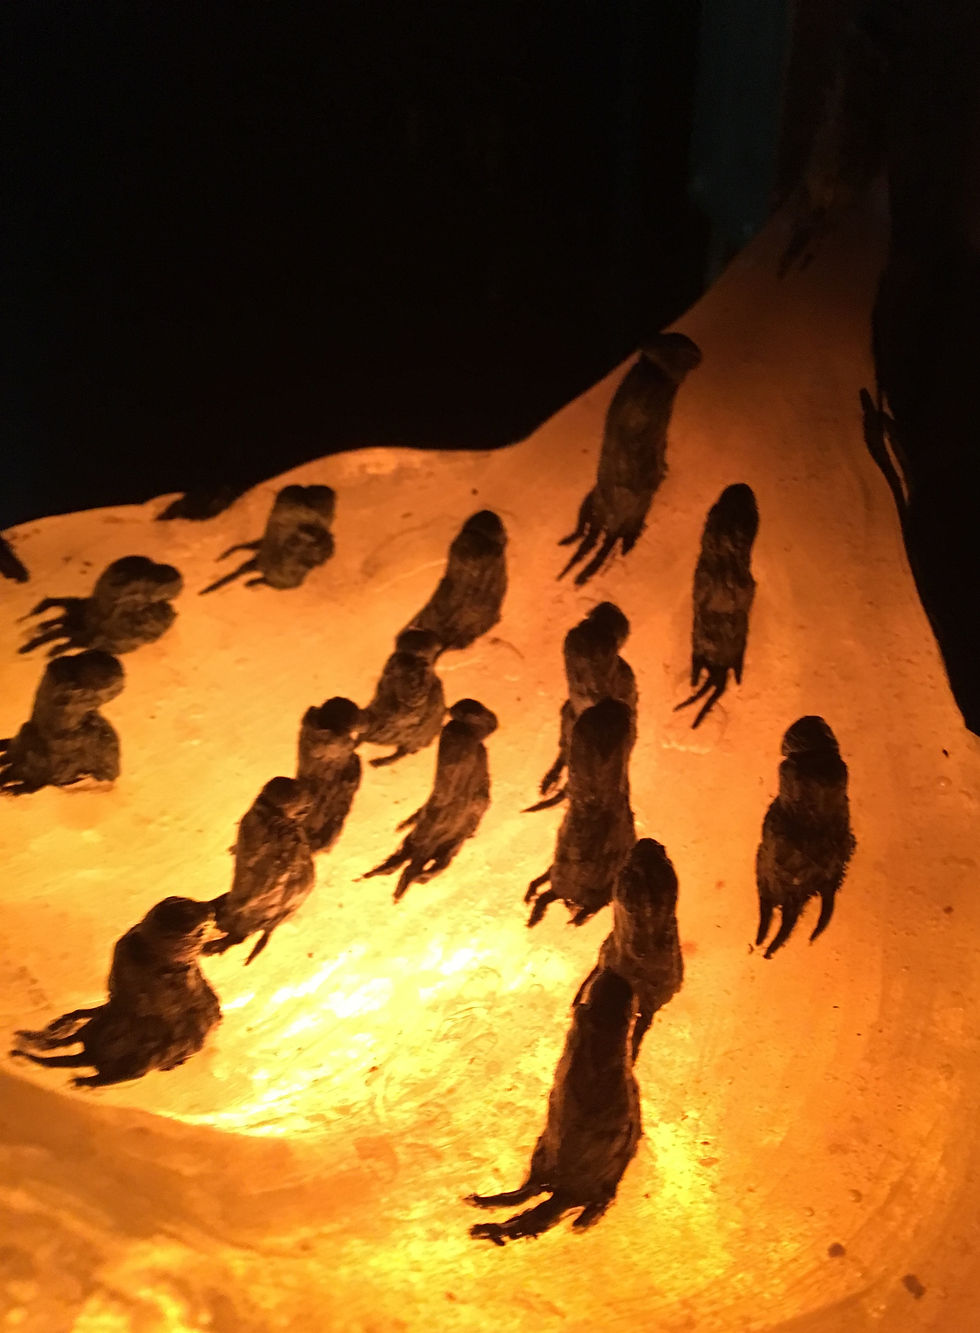


![Storyboard [Version 2 - Final]](https://static.wixstatic.com/media/6101d6_ca4da145888648f9ad4b241803e2a8b0~mv2_d_2048_1442_s_2.jpg/v1/fill/w_1407,h_1000,fp_0.50_0.50,q_30,blur_30,enc_avif,quality_auto/6101d6_ca4da145888648f9ad4b241803e2a8b0~mv2_d_2048_1442_s_2.jpg)
![Storyboard [Version 2 - Final]](https://static.wixstatic.com/media/6101d6_ca4da145888648f9ad4b241803e2a8b0~mv2_d_2048_1442_s_2.jpg/v1/fill/w_152,h_108,fp_0.50_0.50,q_90,enc_avif,quality_auto/6101d6_ca4da145888648f9ad4b241803e2a8b0~mv2_d_2048_1442_s_2.jpg)
![The Dark Crystal: Age of Resistance [Making Of]](https://static.wixstatic.com/media/6101d6_fd1a13acacf546e5ba5c173f142545b9~mv2.jpeg/v1/fill/w_905,h_500,fp_0.50_0.50,q_30,blur_30,enc_avif,quality_auto/6101d6_fd1a13acacf546e5ba5c173f142545b9~mv2.jpeg)
![The Dark Crystal: Age of Resistance [Making Of]](https://static.wixstatic.com/media/6101d6_fd1a13acacf546e5ba5c173f142545b9~mv2.jpeg/v1/fill/w_152,h_84,fp_0.50_0.50,q_90,enc_avif,quality_auto/6101d6_fd1a13acacf546e5ba5c173f142545b9~mv2.jpeg)
![Storyboard [Version 1]](https://static.wixstatic.com/media/6101d6_62e4bc4ad7a44be6990e8df33ca738e6~mv2_d_3508_2480_s_4_2.jpg/v1/fill/w_1407,h_1000,fp_0.50_0.50,q_30,blur_30,enc_avif,quality_auto/6101d6_62e4bc4ad7a44be6990e8df33ca738e6~mv2_d_3508_2480_s_4_2.jpg)
![Storyboard [Version 1]](https://static.wixstatic.com/media/6101d6_62e4bc4ad7a44be6990e8df33ca738e6~mv2_d_3508_2480_s_4_2.jpg/v1/fill/w_152,h_108,fp_0.50_0.50,q_90,enc_avif,quality_auto/6101d6_62e4bc4ad7a44be6990e8df33ca738e6~mv2_d_3508_2480_s_4_2.jpg)


Comments